Getting Gallium Iodide Lamps Right in Your PCB Line
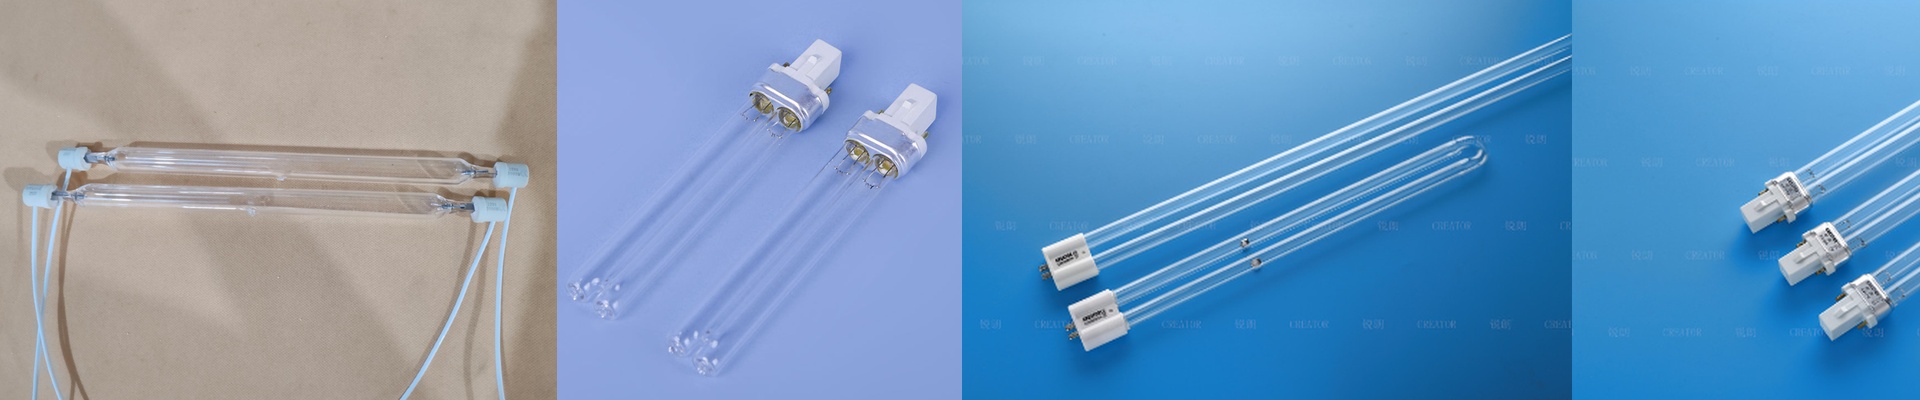
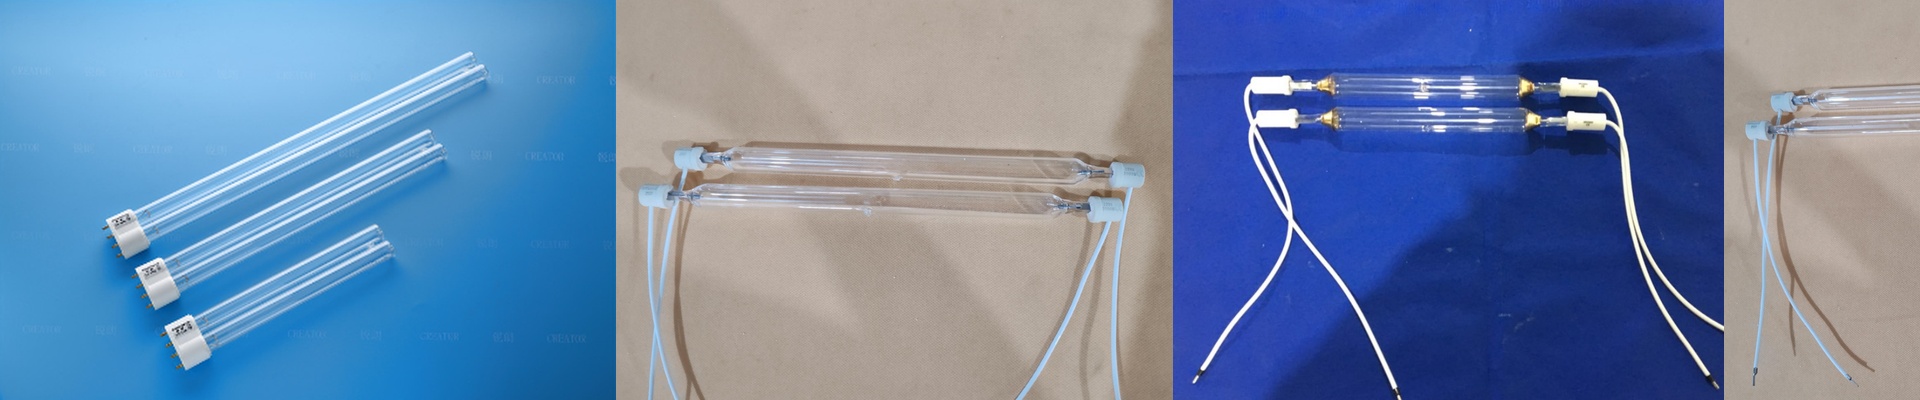
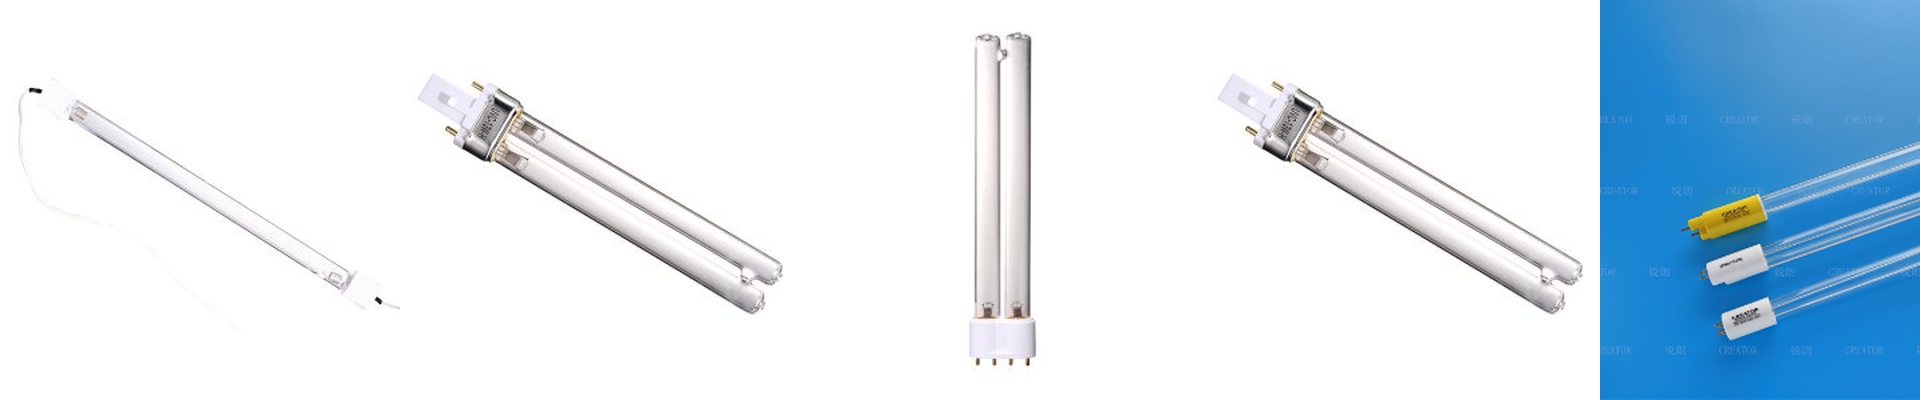
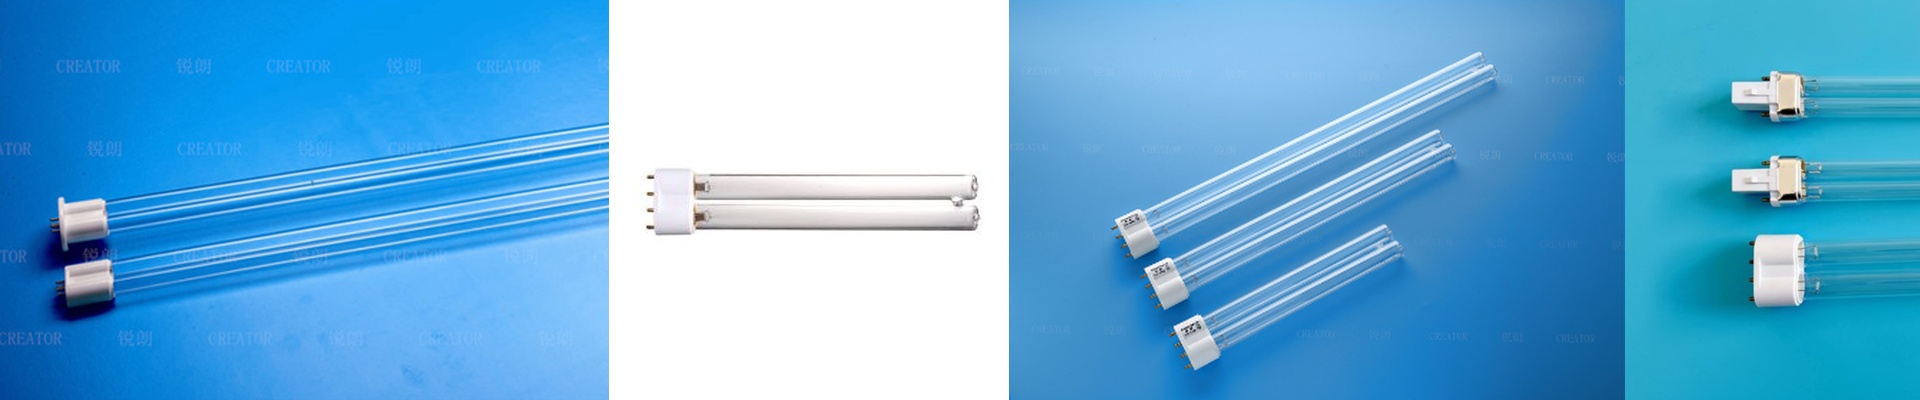
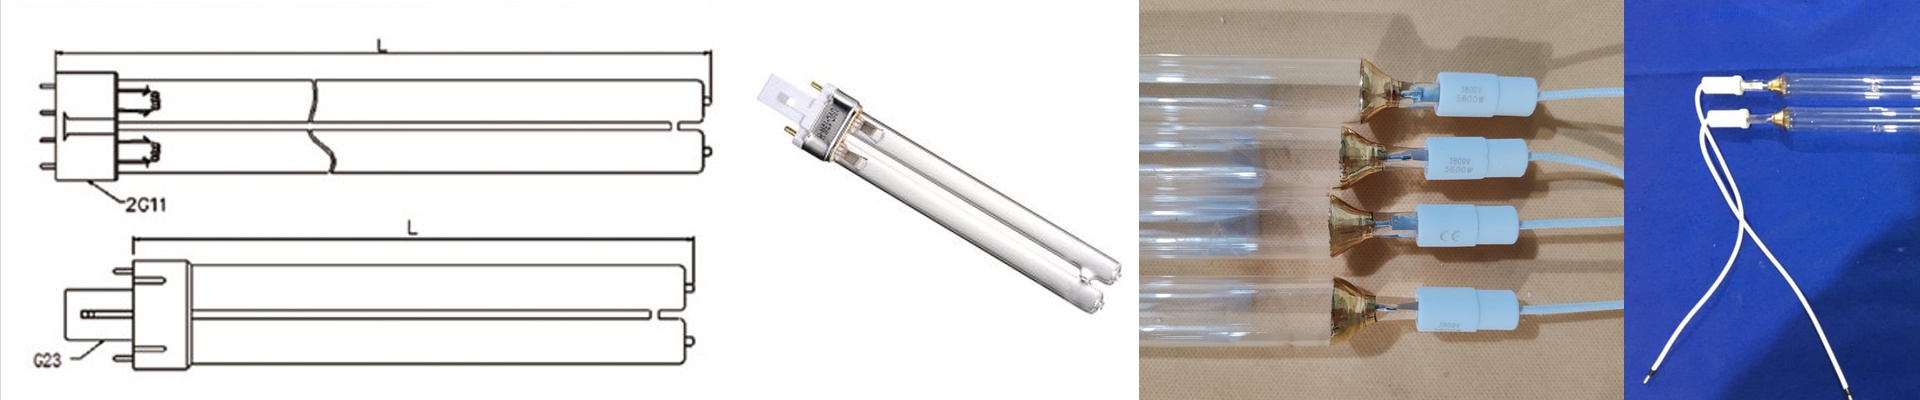
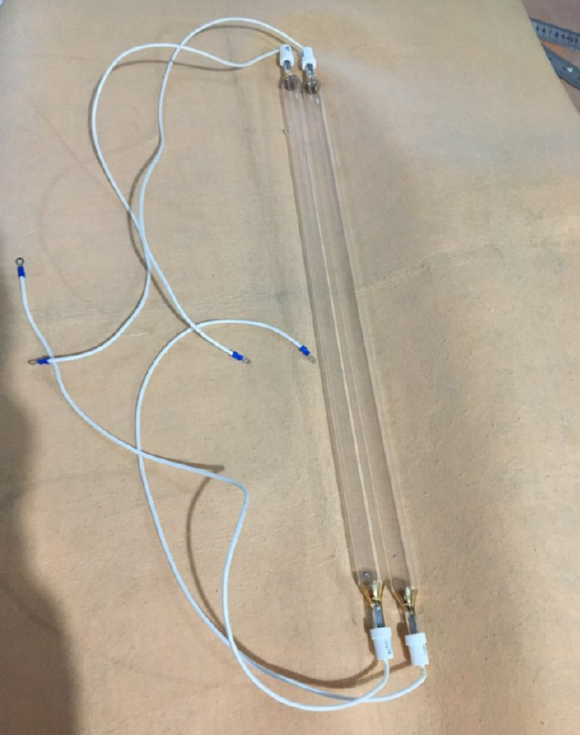
If you’re working with photoresists in PCB fabrication, you know the struggle of getting a clean cure. That’s where gallium iodide lamps come in. They aren’t like your run-of-the-mill mercury tubes. These shift the light to longer wavelengths, which basically means the UV can actually punch through those thicker layers of resist instead of just hitting the surface. The science behind the glow Here’s the thing: the magic is in the gallium iodide halide mix. It creates a strong peak between 365nm and 405nm. We lean into this range because it’s exactly what most PCB photo-initiators are looking for. If you use a lamp with too much short-wave UV, you’ll end up with a nightmare—charred surfaces on top while the bottom stays gooey and uncured. Gallium iodide fixes that. It finds that sweet spot where you get deep penetration without sacrificing speed. The tricky part: Heat and Power Now, these things runhot. Seriously hot. When you’re wiring them up, you can’t just wing it. Your power supply has to match the lamp’s impedance perfectly, or you’re just asking for a premature burnout. We usually set these up for high-intensity bursts, but you’ve got to keep a close eye on your cooling. If your exhaust fans decide to quit or your chiller lags for a minute, that quartz envelope is under massive stress. One wrong move and it cracks. Making it work on the factory floor In a real-world PCB line, these lamps handle the exposure and curing. They’re what keep the resist glued to the substrate so it doesn’t peel off the second you start etching. But here’s a word of advice: don’t just buy a tube and swap it in. We prefer to look at your actual line speed and how thick your resist is before picking a wattage or length. A “drop-in replacement” often isn’t the smartest move. If you’ve sped up your line recently, you’ll probably need a higher wattage lamp to keep that cure density where it needs to be. Otherwise, you’re just gambling with your yield.